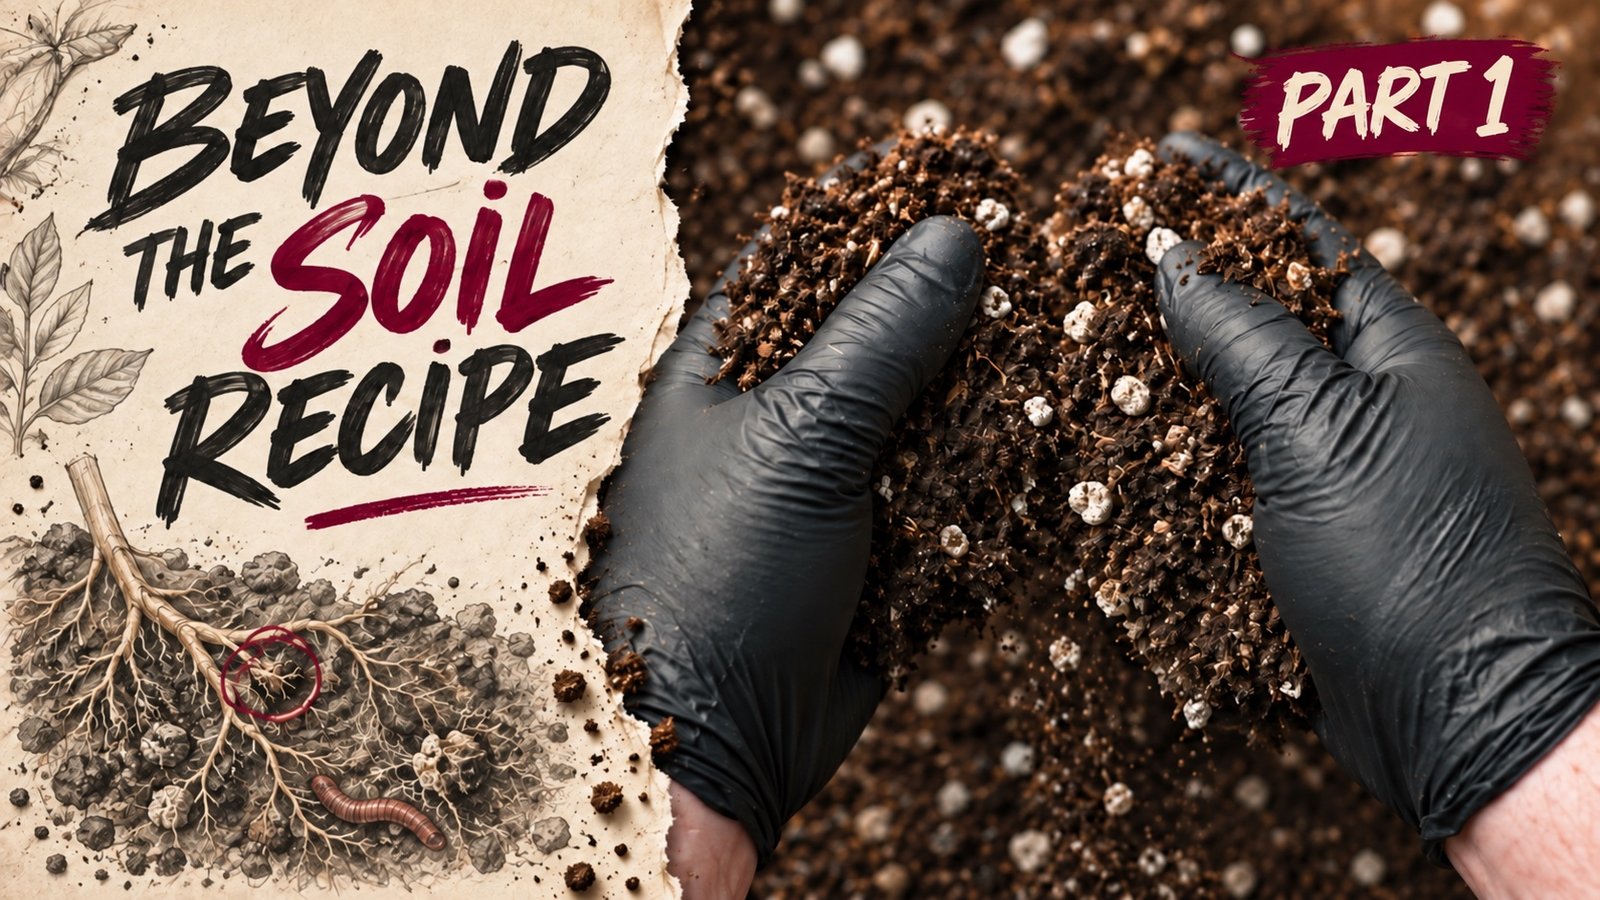
Beyond the Soil Recipe / The written guide
Two living-soil mixes I use
I’ve been using a version of this soil recipe for over a decade. Some of the products I started with were different, and BuildASoil has helped shape the mix into what I use today. Many of the ingredients in the mix I use most often come from them. Here, I’m sharing both versions, what goes into them, and how I handle the soil before planting. You can also watch the mix come together in Beyond the Soil Recipe Part 1.
The mix I use most often
The base starts with 4½ gallons of peat, 2 gallons of pumice, ½ gallon of rice hulls, and 1 gallon of compost. The tables below include the minerals, meals, biochar, and bokashi added to that base. They give you the quantities in one place so you can follow the build without scrubbing through the film.
These amounts are for building a fresh batch. There’s room to experiment with different products, as I still do, but keep track of what you change. If you’re working with used soil, the reuse section explains why I wouldn’t automatically repeat the whole amendment list.
Choose the size of the base
The middle column is the filmed batch. The other columns multiply every ingredient by ½ or 2. All gallons and cups are US measures. The base totals 8 gallons before amendments, about 1.07 cubic feet. The finished volume changes as the materials nest together, absorb water, and settle.
| Ingredient | 4-gallon base | 8-gallon base · filmed | 16-gallon base |
|---|---|---|---|
| Sphagnum peat moss | 2¼ gallons | 4½ gallons | 9 gallons |
| Pumice | 1 gallon | 2 gallons | 4 gallons |
| Parboiled rice hulls | ¼ gallon | ½ gallon | 1 gallon |
| Oly Mountain Fish Compost | ½ gallon | 1 gallon | 2 gallons |
| Ingredient used in the film | 4-gallon base | 8-gallon base · filmed | 16-gallon base |
|---|---|---|---|
| CZ Garden Oyster Shell Flour | ½ cup | 1 cup | 2 cups |
| Diamond K Premium 97 Gypsum | ½ cup | 1 cup | 2 cups |
| BuildASoil Basalt | ½ cup | 1 cup | 2 cups |
| Down To Earth AZOMITE | ½ cup | 1 cup | 2 cups |
| Down To Earth Kelp Meal | ¼ cup | ½ cup | 1 cup |
| Down To Earth Neem Seed Meal | ¼ cup | ½ cup | 1 cup |
| Down To Earth Crab Meal | ¼ cup | ½ cup | 1 cup |
| BuildASoil Premium Insect Frass | ¼ cup | ½ cup | 1 cup |
| Pre-charged biochar | 1 cup | 2 cups | 4 cups |
| SD Microbes BierKashi Bokashi | 1 cup | 2 cups | 4 cups |
For another batch size, divide the desired base volume by 8 gallons, then multiply every original quantity by that number. For example, a 12-gallon base uses a factor of 1.5: 6¾ gallons peat, 3 gallons pumice, ¾ gallon rice hulls, and 1½ gallons compost. Each original 1-cup addition becomes 1½ cups; each ½-cup addition becomes ¾ cup; each 2-cup addition becomes 3 cups.
The recipe measures volume. A cup of gypsum and a cup of kelp meal have different weights, so a conversion to grams needs the weight of each individual material. Rootwise and soapnut used in the film’s mixing water are separate from these dry-ingredient quantities.
The earlier mix
An earlier mix I still use
I still use this earlier mix or a similar variation, and I continue experimenting with both versions. There’s nothing wrong with keeping an earlier recipe in rotation.
It starts with an eight-gallon base, using perlite for aeration and a different set of amendments from the filmed batch.
For the compost, I used Malibu Bu’s Blend or homemade compost. The one-gallon portion could be compost, worm castings, or a half-and-half combination. That means one gallon total: either 1 gallon of compost, 1 gallon of worm castings, or ½ gallon of each.
| Ingredient | Amount |
|---|---|
| Peat moss | 4½ gallons |
| Perlite | 2½ gallons |
| Compost (Malibu Bu’s Blend or homemade) and/or worm castings | 1 gallon total |
| Oyster shell flour | 1 cup |
| Gypsum | 1 cup |
| Glacial rock dust | 1 cup |
| Greensand | 1 cup |
| Down To Earth Bat Guano | ½ cup |
| Down To Earth Bio-Live | ½ cup |
| Kelp meal | ½ cup |
| Fish bone meal | ½ cup |
These are two separate recipes. Each amendment list belongs to its own batch; combining the lists would double up on several inputs.
What changed between the two versions
- The base proportions stayed the same. Both use 4½ gallons of peat, 2½ gallons of aeration material, and 1 gallon of compost or castings. In the filmed batch, the aeration portion is split into 2 gallons of pumice and ½ gallon of rice hulls, and the compost is Oly Mountain Fish Compost.
- The mineral ingredients changed. Oyster shell flour and gypsum remain at 1 cup each. The older list includes 1 cup each of glacial rock dust and greensand; the filmed list includes 1 cup each of basalt and AZOMITE.
- The meals and other fertilizer products changed. Kelp meal remains at ½ cup. Bat guano, Bio-Live, and fish bone meal appear in the older version; neem seed meal, crab meal, and insect frass appear in the filmed version, each at ½ cup.
- The filmed batch also includes biochar and bokashi. Each is added at 2 cups. Neither appears in the older recipe above.
The main change is the choice of materials. Equal cup measurements can carry different nutrient amounts, which is why the product names matter when comparing the two versions.
Preparation
Putting the mix together
-
Set out the materials and measuring tools
Use a marked container for gallons and a separate measuring cup for the small additions. Write down the product names and batch size before you start. Follow each product’s handling instructions, especially when pouring fine powders.
-
Prepare the peat consistently
Break apart compressed clumps before measuring. Keep the fill method consistent instead of packing one scoop tightly and leaving the next loose. Add water gradually and work it through. Dry peat can repel water, so a damp-looking surface can hide dry clumps underneath. Purdue’s substrate guide explains peat wetting and physical properties.
-
Measure the base and additions separately
Check off each ingredient as it goes into its measuring container. Keep the small additions organized so a repeated scoop or pour does not become an accidental double dose.
-
Distribute the ingredients throughout the batch
Combine the base components and measured additions in a clean mixing area with enough room to turn the material. Work through the bottom and corners as well as the surface. Break up clumps and look for uneven concentrations of pumice, compost, or dry powder before filling containers. Penn State describes the same need for thorough distribution in its potting-media guidance.
-
Keep a simple record
Label the batch with its date, ingredients, amounts, and any substitutions. Record added water rather than assuming every future batch will need the same volume. Measure the mixed material if you need a finished-volume figure for filling beds or working out cost.
After mixing
How I let the soil rest
I plan for at least three to four weeks between mixing this soil and planting into it. I prefer to give it more time when I can. I know what it’s like to need soil sooner, but I build that resting period into the schedule instead of counting on a freshly mixed batch being ready straight away.
You’ll often hear this called “cooking” the soil. The organic ingredients are changing as microbes work through them, and some nutrients become available along the way. It gives the mix time to settle into that process before plants go in.
Because I use bokashi, I handle the resting period in two stages. Here’s the routine I follow, which usually takes about four weeks altogether.
-
The first two weeks: closed and undisturbed
The bokashi is already mixed through the soil. Sometimes I also sprinkle a layer over the surface in the tote and lightly water it to moisten that layer. Then I close the lid and leave the tote undisturbed for about two weeks. This is the initial resting stage in my routine, when I give the bokashi time to work.
-
Around week two: open and turn
I open the tote and turn the soil thoroughly. That mixes the surface material and any visible growth back through the batch, loosens the mix, and brings air into it. From this point onward, I leave the lid cracked open.
-
The next two weeks: air and moisture
I turn the soil about once a week during these last two weeks. I also check the moisture. If it’s drying out too quickly, I give it a light watering and mix again to distribute that moisture through the batch. I’m keeping it damp without leaving it waterlogged.
What’s happening in there?
Bokashi is associated with fermentation, which can happen in low-oxygen conditions. Opening and turning the soil changes those conditions and supplies air for organisms that use oxygen. Fungi and bacteria both take part in breaking down organic material. Actinomycetes are one group of bacteria that grow in threads and help break down tougher material.
White, fuzzy growth can catch your attention when you open a tote. Fungi can produce it, but so can some bacteria, so color alone doesn’t identify what you’re seeing. The reason for the later turning and cracked lid is to bring air back into the mix while that breakdown continues.
The calendar is a planning guide. A batch that is still strongly heating, waterlogged, or giving off a foul odor needs attention and more time before planting. Those are reasons to pause, even if the planned weeks have passed.
The biology behind the resting period
This is my routine for this particular mix. It hasn’t been tested as a fixed sequence in which fungi establish first and bacteria begin working two weeks later. Closing a tote restricts fresh air; it does not specifically encourage all fungi. Many decomposer fungi need oxygen, and a cracked lid or weekly turn does not measure the oxygen throughout the soil.
Cornell explains fungi and actinomycetes, including why both can form visible filaments. Its oxygen-transport guide explains how water-filled pores restrict air movement and why turning redistributes moisture.
SD Microbes describes bokashi fermentation and lists the ingredients in BierKashi. Its food-scrap fermentation instructions are a different process from resting this amended potting mix. Neither a white surface nor a certain number of weeks proves that a batch is ready.
Understanding the meals
Why neem, kelp, and crab meal appear together
These three meals make more sense when you look at them together. Neem brings a stronger nitrogen contribution, crab brings nitrogen, phosphorus, and calcium, and kelp adds potassium with relatively little nitrogen. Their roles overlap, but each brings a different balance to the mix. The combination is also part of Clackamas Coot’s approach, described in BuildASoil’s nutrient kit.
Here’s what each one brings. These figures come from Down To Earth’s published analyses for the products used in the recipe. Your package is the reference for the formulation you have.
| Amendment | Published analysis | What that tells us |
|---|---|---|
| Neem seed meal | 6-1-2 6% water-insoluble nitrogen |
The strongest nitrogen contribution per pound of these three meals, with smaller amounts of phosphate and potash. Its nitrogen is listed as slow release. |
| Kelp meal | 1-0.1-2 1% water-insoluble nitrogen |
Contributes potassium with a smaller nitrogen contribution. Both kelp and neem carry a 2% potash guarantee by weight. |
| Crab meal | 4-3-0 and 14% calcium 1% water-soluble nitrogen; 3% water-insoluble nitrogen |
Contributes nitrogen and phosphate along with calcium. Its nitrogen is split between water-soluble and water-insoluble forms. |
The three fertilizer numbers mean nitrogen, available phosphate (P₂O₅), and soluble potash (K₂O). The last two are reporting conventions, not elemental phosphorus and potassium percentages. Crab meal’s nitrogen figures are percentages of the whole product: 1% plus 3% makes 4% total nitrogen.
What the combination covers
Neem is the more nitrogen-concentrated ingredient, crab meal contributes the most phosphate of the three plus calcium, and kelp adds potassium with relatively little nitrogen. Their roles overlap: neem also contributes potassium, and crab meal also contributes nitrogen. Together, they cover a broader range than any one of these meals alone. The compost and mineral ingredients contribute to the rest of the mix.
How those nutrients become available
Putting a meal into the soil starts a process. Much of its nitrogen is tied up in organic material that microbes have to break down before roots can use it. That’s one reason I give the mix time to rest. Moisture, temperature, and the material itself all affect how quickly that happens. Oregon State explains these controls on nitrogen mineralization, and University of Minnesota Extension explains the organisms involved.
Neem’s slow-release nitrogen is part of its appeal in a soil mix: it becomes available over time as the material breaks down. Crab meal brings both soluble and insoluble nitrogen. The label tells you what’s in the bag, while conditions in the soil help determine when it becomes available.
Potassium behaves differently from organic nitrogen. Water can release potassium from plant residues without waiting for complete decomposition, as University of Wisconsin’s potassium-cycle guide explains. That is why different nutrients in the same ingredient can become available at different rates.
What each ingredient brings
How the rest of the mix works
Peat, pumice, rice hulls, and perlite
The base gives the roots somewhere to live. Peat holds moisture, while the coarser aeration ingredients help create spaces where air and water can move. In the mix I use most often, that aeration portion is pumice and rice hulls. In the earlier version, it’s perlite.
The way a mix feels and drains matters alongside its nutrient content. Particle size and container depth affect how much water stays in the mix and how much space remains for air. That’s why changing an aeration ingredient can change the way a pot behaves, even when you measure the same volume.
Compost and worm castings
Compost and castings bring decomposed organic material, nutrients, and a community of organisms into the mix. They also affect how it holds water. I’ve used Oly Mountain Fish Compost, Malibu Bu’s Blend, homemade compost, and castings in the versions described above.
Get familiar with what you’re buying. Compost made from one set of materials can have different nutrient and salt levels from another. Mature, well-finished material is the starting point here. The Compost & Compost Teas page goes further into what compost contributes and how I use it.
Oyster shell flour and gypsum
Both supply calcium, but they do different jobs. Oyster shell flour is a carbonate material that helps neutralize acidity. Gypsum supplies calcium and sulfur with little direct effect on pH. With an acidic ingredient like peat in the base, that distinction is useful: “contains calcium” doesn’t tell you the whole story.
Basalt, AZOMITE, glacial rock dust, and greensand
These are the mineral ingredients that changed between the two recipes. Basalt and glacial rock dust contain minerals from their source rock; AZOMITE is a mined mineral product. Greensand is a mineral source of potassium. Their composition and release rates differ, so they aren’t interchangeable scoop for scoop.
Think of rock powders as mineral material that has to weather and dissolve. Finding an element in the rock doesn’t mean all of it is immediately available to roots. That’s why I keep them separate in my thinking from a quick feeding.
Insect frass
Frass is insect waste, and the BuildASoil product in this recipe comes from black soldier fly larvae. It contributes nutrient-containing organic material that microbes can work through. The supplier lists an estimated 3-3-1 analysis, so it belongs in the nutrient picture alongside the meals.
You’ll also hear about chitin, the material in insect exoskeletons. Frass products can include shed insect material, but their makeup varies. For this recipe, the clear reason to account for frass is the organic matter and nutrients it adds; its presence isn’t a substitute for dealing with a pest or disease problem.
The biochar I use is already pre-charged
Biochar is a porous, carbon-rich material. Its surfaces and tiny spaces can help hold water and nutrients and provide places for microbes to live. Much of that carbon is resistant to breakdown, so it behaves differently from a meal that microbes consume.
I use biochar that comes pre-charged. Charging means bringing it into contact with nutrient-containing material before use, often compost or a nutrient solution. That preparation has already been done with the product I use. Check the description on your own bag, because plain biochar and pre-charged biochar aren’t the same starting material.
Bokashi
BierKashi brings fermented organic material into this mix. SD Microbes lists spent brewing grains and wheat bran among its ingredients, along with molasses and lactic acid bacteria. The grains provide organic material for microbes to work on, while fermentation changes that material before it reaches the soil.
I mix it through the batch and sometimes add a layer on top of the soil in the tote. That’s part of the resting routine above. Fermentation and oxygen-using decomposition are different processes, which is why I explain when I keep the lid closed and when I start turning the mix.
The meals and blend in the earlier recipe
Bat guano contributes nutrients, but different guano products have different analyses. The current Down To Earth product is listed as 7-3-1. That identifies the product sold today, rather than assuming an old bag had the same formulation.
Bio-Live is a blended fertilizer. Down To Earth’s current 5-4-2 formula combines ingredients including fish bone meal, fish meal, alfalfa, crab and shrimp meals, langbeinite, and seaweed meal, with added microorganisms. Several ingredients are already combined in that one bag.
Fish bone meal supplies phosphorus and calcium, along with some nitrogen. It helps explain the different nutrient sources in the earlier mix. Kelp meal appears in both versions, so its role carries over from the comparison above.
Ingredient labels and further reading
Purdue: container-media properties · Oregon State: compost properties · Oregon State: gypsum and liming materials
BuildASoil Premium Insect Frass · BierKashi ingredients · Utah State: biochar properties · Utah State: charging biochar
Down To Earth Bat Guano · Down To Earth Bio-Live · Fish bone meal nutrient example · AZOMITE product information · Oregon State: fertilizer sources
Product pages verify ingredients and published analyses. Check the label on the product you have when comparing formulations. A 2024 study comparing frass from three insect species found differences in nutrient and microbial properties, which helps explain why frass products should be considered individually.
Learning from a batch
Pay attention to what your soil is doing
You can learn a lot by keeping track of a batch. Write down the ingredients and any substitutions, then note how the mix holds moisture and how the plants respond. When you change something next time, you have a useful comparison instead of trying to remember what went into an old tote.
In Part 1, I set the soil aside to rest before laboratory testing. That’s part of how I’m looking more closely at this batch. You can still use the ingredient explanations here and learn from your own garden without buying a test every time you mix soil.
A test becomes useful when you’re trying to answer a specific question: is the pH off, have salts built up, or does the soil actually need more of a particular nutrient? Those are things the ingredient list and leaf color alone can’t settle.
If you decide to send a sample
Tell the laboratory that this is a peat-based container mix and ask which testing method suits it. Logan Labs lists its testing services and provides sampling instructions. Follow the instructions for the test you choose.
Keep the method with the results. For example, readings for electrical conductivity, which relates to soluble salts, need to be interpreted using the extraction method that produced them. Oregon State explains those measurements.
The next cycle
Working with soil you’ve already used
Used soil still contains part of what you put into it. Plants have taken up some nutrients, some may have leached out, and others remain. That’s why the full fresh-batch recipe isn’t an automatic refill list for the next cycle.
Start with the history of that mix: what went in originally, what you added along the way, and how it has been behaving. When the question is how much of a specific amendment it needs now, a suitable soil analysis gives you more to work with than guessing from the original recipe.
Where the teas fit into my routine
I use compost teas alongside top-dressing, and seed sprout teas are another part of my growing routine. Each has its own article so you can find the full explanation and recipes in one place.
Read about compost and compost teas · Read about seed sprout teas